Can I store my files in Seller Center? (Media Center)
You can now store and manage your images and videos in your Seller Center. You can use these uploaded media when creating your products and decorating your store.
You can find the Media Center when you log in to your Seller Center via PC/Web. Go to Seller Center > Products > Manage Products > New Product (on the upper right side of the page) > Media Center
Features of Media Center
You can do a single or bulk upload of your files to the Media Center (online Lazada server/cloud)
Drag and drop or manually select files from local storage to Media Center
Upload from URLs to download back to Lazada (suggested types are .jpg, .webp, .png, .mp4, .mkv, .mpeg)
1. Click on Upload Image
2. Drag and drop your picture/videos to the box below.
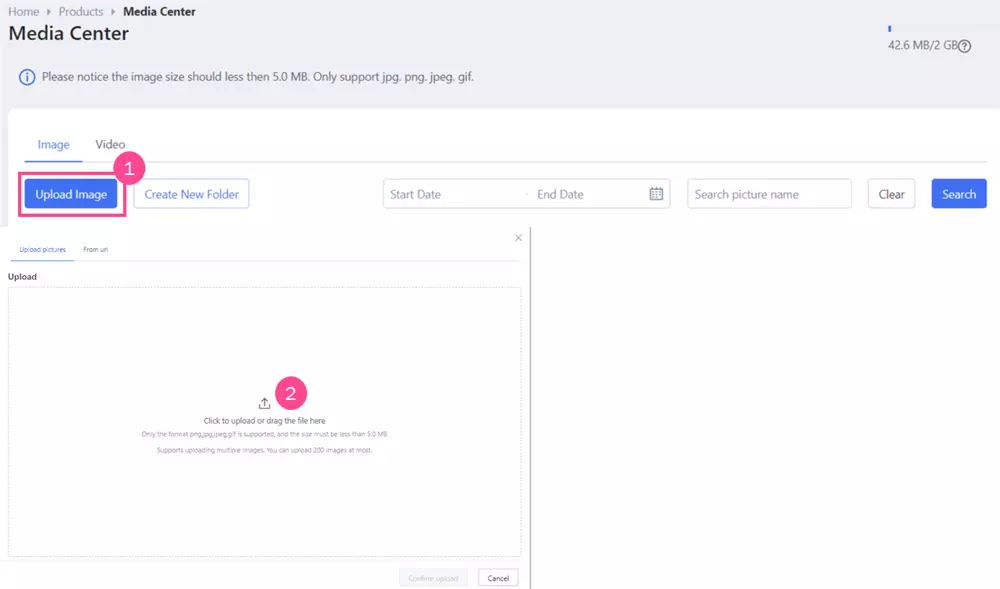
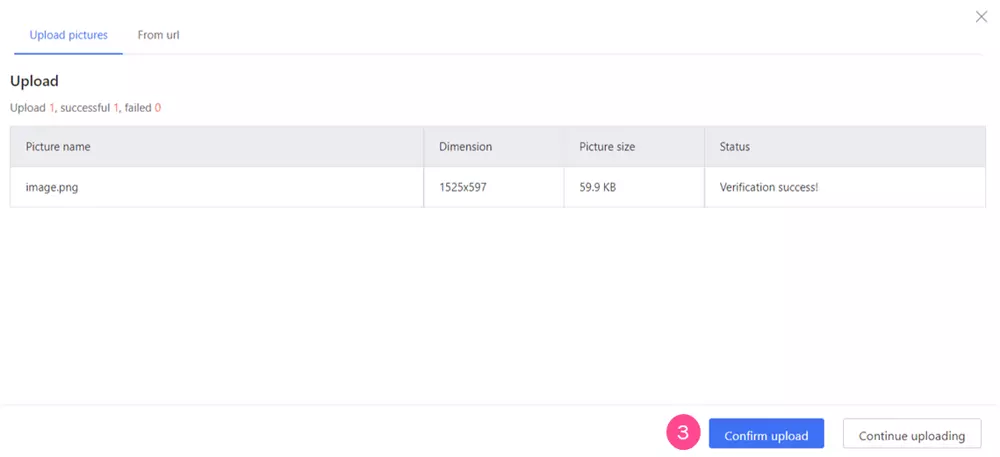
3. Wait for the file/s to upload. You will see the status of the upload on the last column. Once done, you can either Confirm Upload to finish or Continue Uploading to add more files.
. 
To upload image from URL, select the URL tab. Copy then paste the URL/s of the files you would like to upload. You can paste multiple links at one time, just make sure to add one link per line.

II. Export Images to URL (bulk and single export)
You can convert your image/s to URL for mass uploads
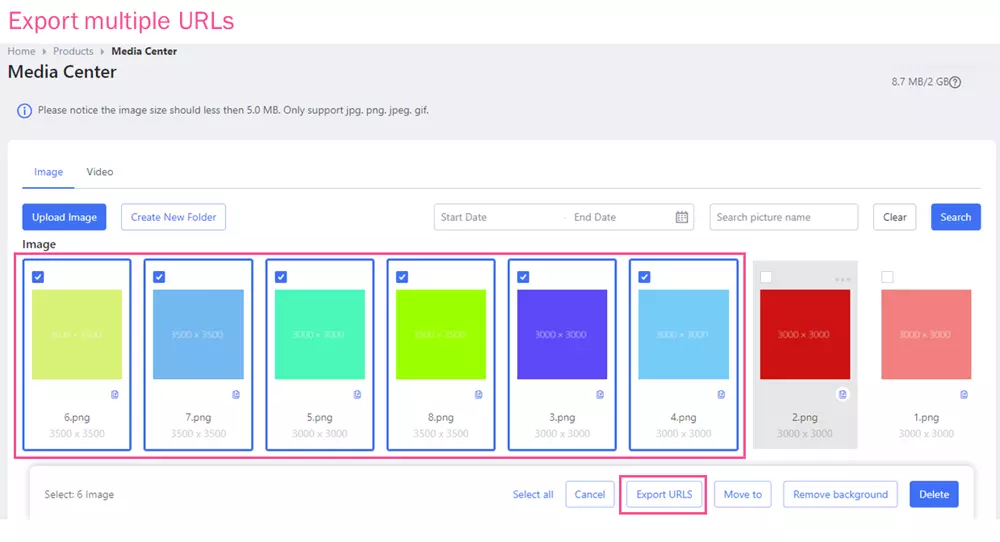
Choose multiple images and export URLs
Copy URL for single image
For exporting multiple URLs, click on the images you want to get the URLs of then click on the "Export URLs" button.
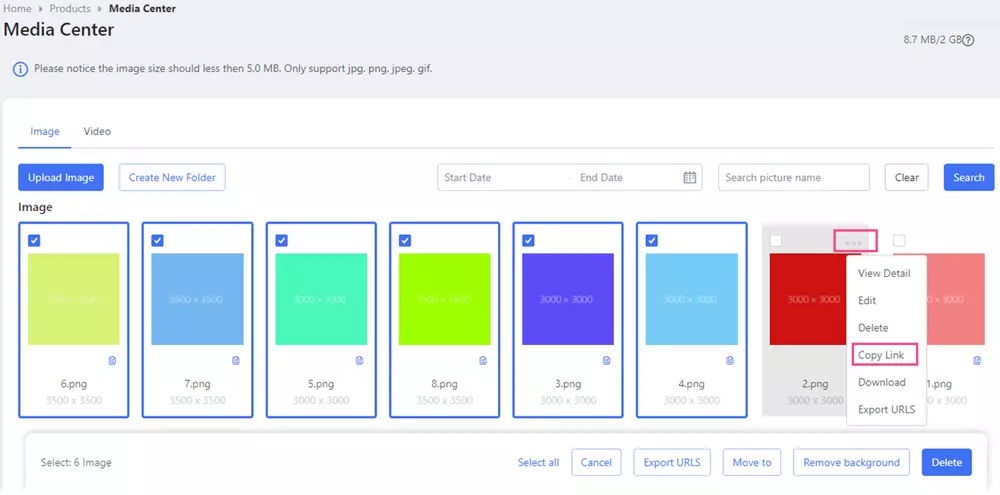
For exporting the URL of one image, click on the 3 dots on the upper right of the image. Choose "Export URLs".
You will then be able to download the CSV file containing the URLs.
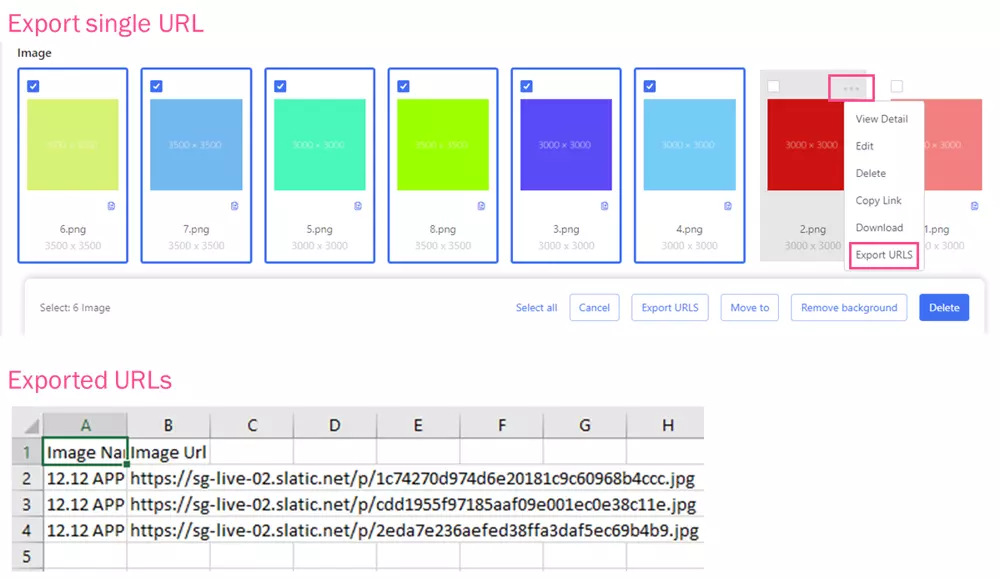
To copy the URL of a single image, just click on the 3 dots on the upper right and choose "Copy Link".
You can edit your uploaded images to be ready for use when uploading them to your product pages or store decoration.
Crop
Resize / Rotate
Change to white background (Remove background)
To edit the images, just click on the 3 dots on the upper right of the image then choose "Edit".

You can adjust the features of the photo.
a. Crop Ratio - crop the photo based on the suggested sizes or your own size (free cropping)
b. Crop Size - resize and set your preferred resolution/width and height
c. Remove background - make the image's background white
d. Rotate - change the orientation of your image

You can arrange your uploaded files and put them in folders similar to other cloud storage.
Create and rename folders
Search within folders
To create a folder, just click on the Create New Folder button then type in your preferred folder name.
You can search for a specific file in your folder based on the EXACT name of the file or the upload date.
Example: Type in the file name and choose May 1 to May 5 as upload time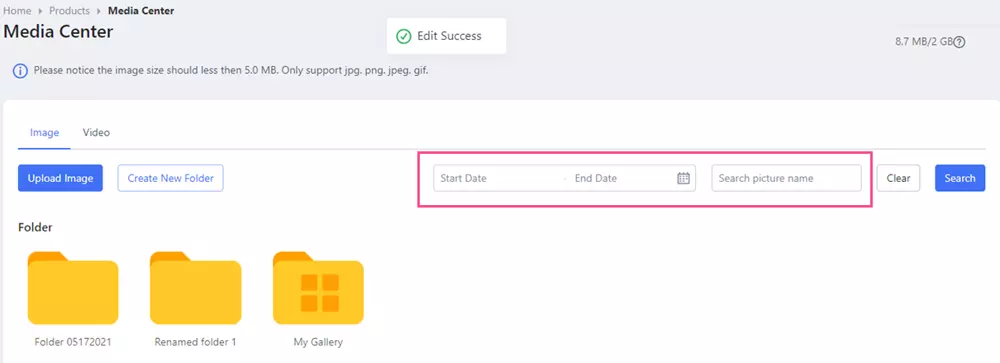
1. Can I rename the files and folders that I've uploaded?
Yes, you may create and rename your files and folders.
2. What image URLs are supported for export and import?
We suggest to have your files in.jpg, .png and .webp
3. Can I use these uploaded files in Media Center when I list or upload my products?
Yes, just look for the Upload Image section and you should be able to use the images in your Media Center. You may also then rearrange the photos seen in the listing page.

